Database Connections
Everything in dbFront starts with the creation of a Database Connection so this topic covers what is required to create and manage a database connection:
- Setting up the Database Account
- Creating the Connection
- Updating the Connection Preferences
- Setting the Connection Access
For help with a specific Database connection type see:
- Microsoft SQL Server
- SQL Server Authentication Required
- No drivers required
- MySQL Server
- Need to install Drivers
- Optionally supports SSH connections.
- Oracle Server
- All drivers included
Database Account
Before you can add a database connection you will need access to a database account. You can use any account with enough privileges but it is better to create an account specifically for this purpose. A special-purpose account will enable you to lock down the table access so that if there is a security breach then it will give the attacker the least possible privileges.
For more details see: Connection Security
Other than the normal table privileges, this account will also need to be able to read the object definitions.
Add Connection
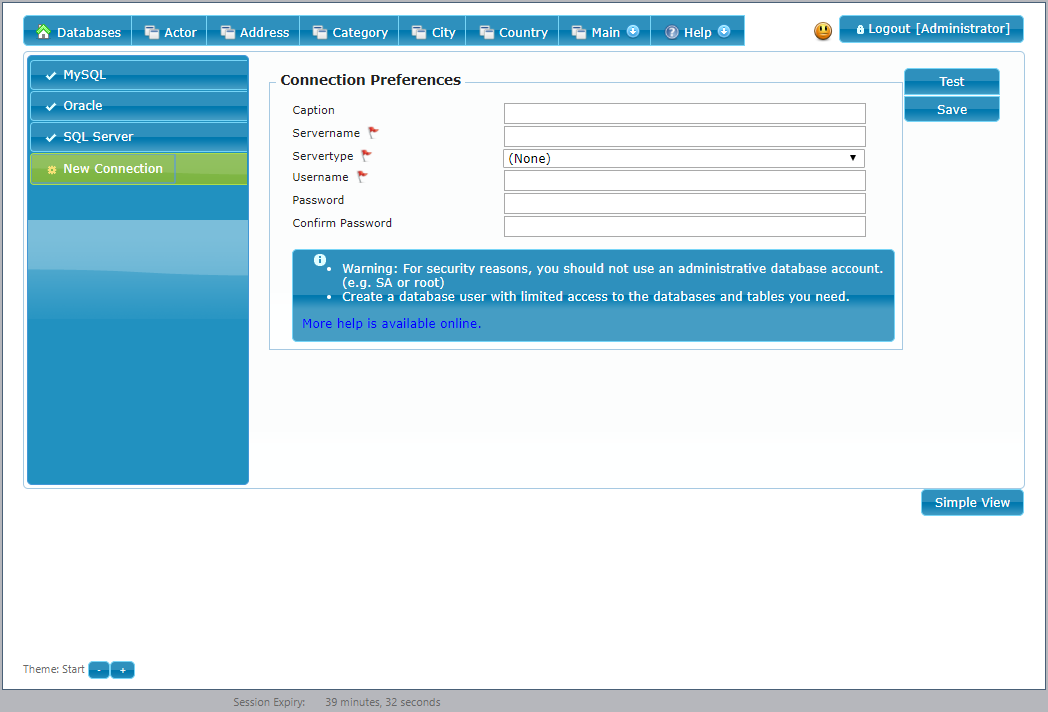
Once you have access to a database base account then creating the database connection should be straight forward.
You will need to specify the:
- Server name: The name or IP address or the server hosting the database,
- Server Type: SQL Server, MySQL or Oracle
- Username: The account created in the step above.
- Password: This needs to be entered twice.
You can additionally create a more friendly caption for the database connection. This will be visible to other admin users.
The button named "Test" will test the connection without saving it. The "Save" button will save the connection after first validating it.
If there is a problem creating a connection then you may need to review the setup article related to your database:
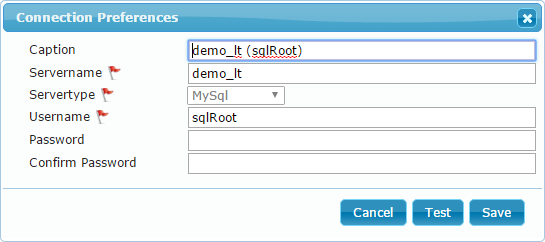
Connection Preferences
If you ever need to update the connection credentials or caption then this can be done from the Connection Properties dialog. You will be required to enter the connection password to verify your access.
Connection User Access
Once the database connection has been set up, one of the next steps would be to specify which users have access to that connection. You might want to wait with that step until your application is ready.
To manage the access to your application please see: Connection User Access.
Next Step
The next step is to finish the authentication setup and then update the preferences for the databases the connection made available: Database Preferences


